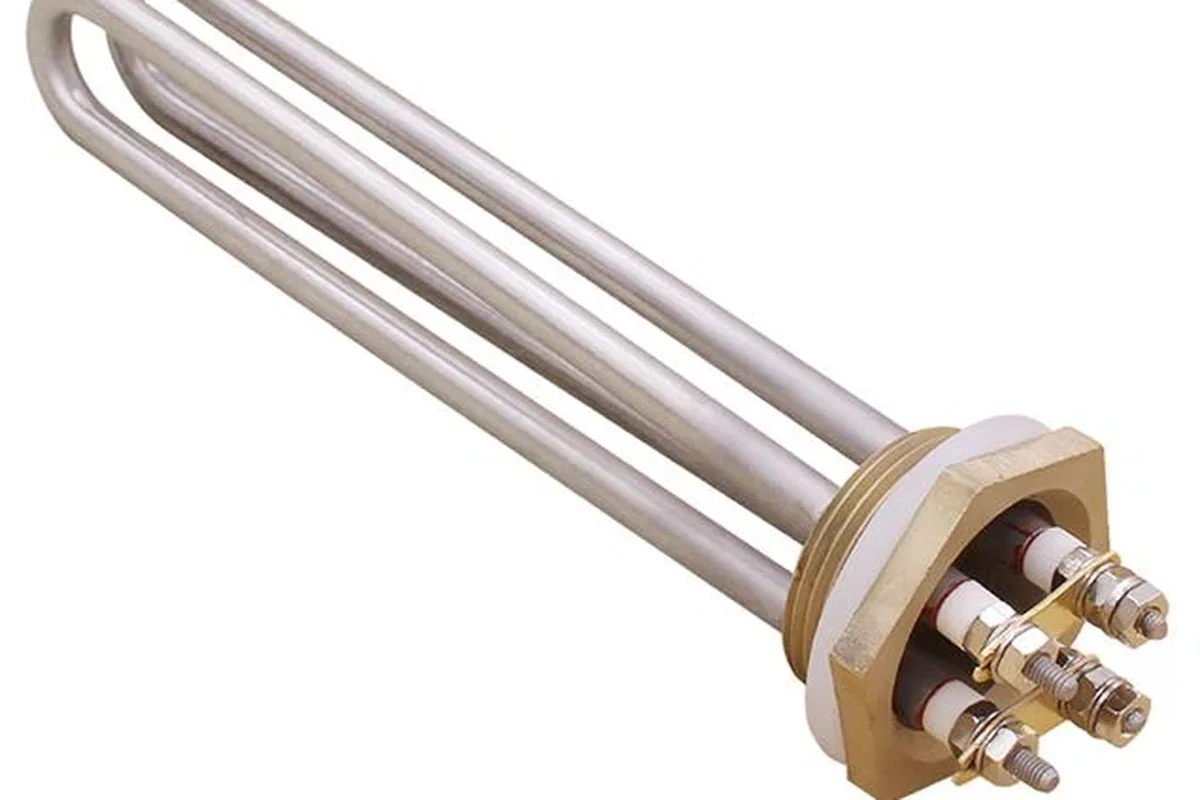
An electric water heater is, at its core, a very large electric kettle: two heating elements, one upper and one lower, immersed in forty or fifty gallons of water and switched on and off by thermostats. There is no flame, no vent, and no pilot light, just resistive heating doing quiet work behind two small access panels. When an element fails, the heater does not announce it dramatically. The hot water simply gets weaker: showers turn lukewarm, the tank runs out faster, or one morning there is no hot water at all.
Element failure is one of the most common electric water heater repairs, and it has a telltale pattern. The upper element heats the top of the tank first, so when it fails, you get little or no hot water. The lower element does the sustained heating of the full tank, so when it fails, you get a short burst of hot water that quickly goes cold. Knowing which symptom you have tells a technician where to look before a single panel comes off, though proper diagnosis still means testing both elements and both thermostats with a meter, because thermostats fail too and mimic element symptoms.
Our technicians diagnose and replace failed heating elements in electric water heaters throughout Medford, MA 02155. The job is electrical work inside a water-filled tank, so it follows strict power-off, drain, and refill procedures on every call. Below are the failure signs, the replacement process step by step, the elements and parts we install, and the safety precautions that make this repair safe to perform.
Signs Your Heating Element Has Failed
The symptoms of element failure depend on which element has gone. When the upper element fails, the result is little or no hot water at all. The upper thermostat and element handle the first stage of heating, and without them the tank never gets started. Homeowners often describe this as the heater dying overnight: hot water in the evening, cold water in the morning.
When the lower element fails, the pattern is different and more confusing. You get hot water, but not much of it. The upper element heats the top few gallons, which is what reaches your shower first, and then the supply collapses because the lower element is not reheating the bulk of the tank. Short, disappointing showers that start hot and go cold are the signature of a dead lower element.
Electrical symptoms point to elements too. A breaker that trips repeatedly on the water heater circuit often means an element has shorted internally or its insulation has broken down. The reset button on the upper thermostat, the little red button behind the access panel, tripping again and again suggests overheating, which can come from a thermostat failure working an element too hard or from an element coated in scale and overheating locally. Popping or rumbling sounds during heating indicate scale buildup on the elements, water trapped under mineral deposits flashing to steam. And the simplest diagnostic of all: a heater that is completely silent and cold, with the breaker on, has usually lost its upper element or its power supply.
How We Replace a Heating Element, Step by Step
Element replacement is electrical work in a wet environment, so the sequence is built around making the heater electrically dead, then mechanically safe, then restoring it in the right order:
- Disconnect and verify power. The dedicated double-pole breaker is switched off at the panel, and zero voltage is confirmed at the elements with a multimeter. This is not optional and not assumed; it is tested every time.
- Shut off water and relieve pressure. The cold-water supply valve is closed, a hot tap is opened, and the temperature-pressure relief valve is briefly lifted to vent pressure.
- Drain below the element. The tank is drained through the drain valve to below the level of the failed element. For a lower element, this usually means draining most of the tank.
- Access and disconnect. The access panel and insulation are removed, exposing the element and thermostat. Wires are disconnected and labeled, and the thermostat is tested to determine whether it also needs replacement.
- Remove the old element. The element is unthreaded with an element wrench, a 1-1/2-inch socket made for the job. The old gasket comes out with it, and the port is inspected for scale and thread condition.
- Install the new element. The replacement, matched to the heater's wattage and voltage rating, is threaded in with a new gasket and tightened to seal. Wires are reconnected exactly as labeled.
- Refill completely, then restore power. This order is critical. The tank is filled entirely and air is purged through the hot taps until water runs solid. Only then is the breaker switched back on. Power applied to a dry element destroys it in seconds.
- Verify operation. Both thermostats are checked for correct cut-in and cut-out temperatures, the tank is watched through a heating cycle, and all connections are confirmed dry.
The Elements and Parts We Install
The replacement element must match the heater's specification exactly. Residential electric heaters typically use 240-volt elements rated around 4,500 watts, though some models use 3,500 or 5,500 watts, and the replacement must match the rating plate, never exceed it. A higher-wattage element than the wiring and breaker are rated for is a fire hazard, not an upgrade. Elements come in different densities too: standard-watt-density elements are the common replacement, while low-watt-density elements spread heat over more surface area, run cooler, and resist scale buildup better, making them a worthwhile choice in heaters with a history of scale.
Each element seals against the tank with a gasket, and the gasket is always replaced with the element, never reused. A flattened, heat-aged gasket is a leak waiting to happen. We also test both thermostats during the visit, because a failed thermostat is the most common mimic of element failure and the most common cause of repeat element burnout. If a thermostat is sticking or out of calibration, it is replaced alongside the element.
The tooling is specific: an element wrench or 1-1/2-inch socket, a multimeter for continuity and voltage testing, Teflon-free gasket seating (the gasket does the sealing, not tape), a garden hose for draining, and thread inspection tools for the element port. The parts are modest in cost; the value of the visit is in the diagnosis that ensures the right part is replaced.
Safety Precautions for Element Replacement
Electricity and water share the work area on this job, and the safety rules are built around keeping them apart. Power is disconnected at the breaker and verified dead with a meter before any panel is opened. Breakers are never trusted on faith: they can be mislabeled, and a previous homeowner's panel work is not something to gamble on. The work area is kept dry, and if standing water is present around the heater, the electrical hazard is resolved before the element work begins.
The dry-fire rule is the second pillar. An electric element exposed to air while energized burns out in seconds, glowing red and destroying itself. That is why the refill-before-power sequence is absolute: tank completely full, air purged through hot taps until the flow is solid, and only then is the breaker restored. Homeowners attempting this repair themselves most often fail right here, installing the element correctly and then destroying it by restoring power to a partially filled tank.
Scalding precautions apply as well. Draining a tank means handling water that may be near scalding temperature, so discharge is routed through a secured hose to a safe drain point, never across a floor. The temperature-pressure relief valve is tested during the visit, since a malfunctioning thermostat can overheat the tank and the relief valve is the backup. Finally, wire connections are remade exactly as found and torqued properly; a loose high-amperage connection overheats, and overheated connections are a fire risk inside the access panel.
Local Factors: Heating Elements in Medford Homes
Medford's electric water heaters fail in patterns shaped by local water and housing. The MWRA supply, from the Quabbin and Wachusett reservoirs, is naturally soft, which spares elements the heavy scale crusting seen in hard-water regions. But soft water is not pure water: tanks that have never been flushed still accumulate sediment, particularly in older Medford homes where aging supply piping sheds material into the system. The lower element sits directly in that sediment zone, which is why it remains the most common failure even here.
The housing stock influences the service mix. Many Medford homes, especially triple-deckers and older two-families, run electric heaters as their primary unit or as secondary point-of-use heaters for upper floors and additions. Basement installs in damp utility areas corrode access panels, thermostats, and wire connections from the outside, producing the intermittent electrical faults that mimic element failure. We test rather than assume on every call for exactly this reason.
Winter makes element failures more visible. Cold groundwater from December through March means the heater works harder and cycles longer, and a weakened lower element that limped through summer finally cannot keep up. That is when the short-shower complaints arrive. Serving Medford, MA 02155, we pair every element replacement with a thermostat check and an anode rod inspection, because in these basements the element is often the symptom that leads us to the maintenance the heater has been missing for years.
Heating Element Replacement FAQs
Element symptoms and thermostat symptoms look alike, which generates most of the questions we hear. Here are straight answers based on what meter testing actually finds in Medford homes.