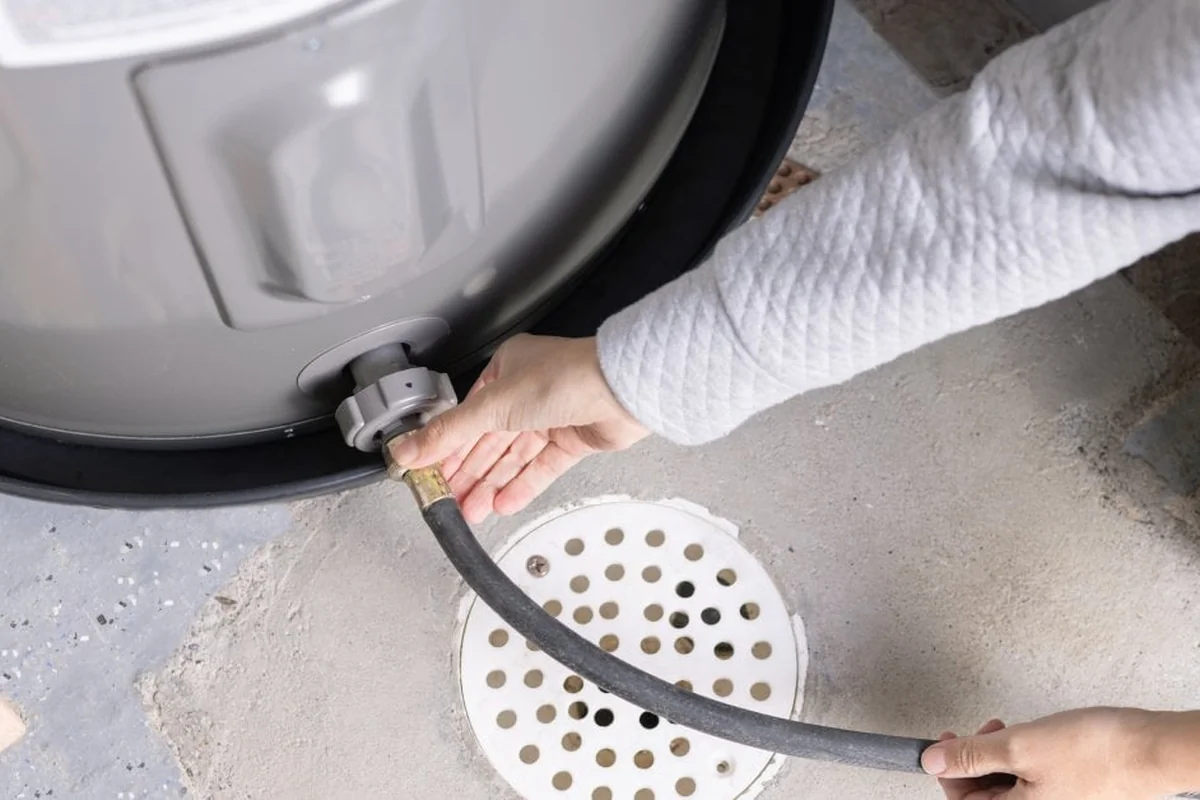
At the bottom of every tank water heater sits a small, unglamorous fitting that does more work than it gets credit for: the drain valve. It is the port through which sediment is flushed out, the tank is drained for repairs, and the heater is emptied at the end of its life. Most heaters ship from the factory with an inexpensive plastic valve, and that valve is one of the most common failure points we see on service calls. It drips. It cracks. Its handle snaps off. Or it seizes so completely that the tank can no longer be flushed at all.
A failed drain valve is more than a nuisance drip. It makes routine maintenance impossible, which lets sediment accumulate year after year. That sediment insulates the bottom of the tank, forces the burner or elements to work harder, and shortens the heater's life. In Medford, where many tank heaters sit in basement utility areas and quietly serve triple-deckers and older single-family homes for a decade or more, we find stuck and leaking drain valves on a regular basis, often discovered only when a homeowner tries to flush the tank and nothing comes out.
Our technicians replace failed drain valves across Medford, MA 02155, upgrading the factory plastic fitting to a full-port brass ball valve that drains faster, seals reliably, and can actually be operated years later. Below are the signs of a failing valve, the replacement process step by step, the materials we install, and the safety precautions the job requires.
Signs Your Drain Valve Is Failing
The most obvious sign is water where it should not be: a slow drip or steady trickle from the valve spout, or dampness and mineral crust around the valve body where it threads into the tank. Even a small drip matters, because it runs constantly and can damage flooring, and because it signals that the valve's internal seal has failed. In basement installs, where the heater sits on concrete and nobody looks behind it for months, these drips are often discovered only after a stain or puddle forms.
A broken or missing handle is another common symptom. Plastic valve handles become brittle with heat and age, and they snap off when someone finally tries to use the valve. Without a handle, the valve cannot be operated at all, which means the tank cannot be flushed or drained for any other repair. Related to that is the valve that simply will not turn: years of sediment and mineral buildup freeze the stem in place, and forcing it risks cracking the valve body, which turns a drip into a spray.
The quietest failure is the valve that opens but drains nothing. Sediment packs into the valve's narrow passage over the years until the valve is effectively plugged. A homeowner attaches a hose, opens the valve, and gets a trickle or nothing, which usually leads to the discovery that the valve has been useless for years. Any of these conditions, drip, breakage, seizure, or clogging, is reason to replace the valve rather than fight with it.
How We Replace a Drain Valve, Step by Step
Replacing a drain valve means opening the tank's lowest port, so the job starts with making the heater safe and empty. Our technicians follow the same sequence on every call:
- Shut off fuel and water. Gas heaters are set to pilot or off; electric heaters are disconnected at the breaker and verified with a meter. The cold-water supply valve to the tank is closed.
- Relieve pressure. A hot-water tap is opened in the house and the temperature-pressure relief valve is briefly lifted, venting pressure so the tank drains smoothly and nothing sprays when the old valve comes out.
- Drain the tank. If the old valve passes any water at all, a hose is attached and the tank is drained. If the valve is completely clogged, we drain through the temperature-pressure relief port or remove the valve first and drain through the open port into buckets and a wet vacuum.
- Remove the old valve. The failed valve is unscrewed from the tank's drain port. Plastic valves sometimes break off in the port, in which case the remaining piece is carefully extracted without damaging the tank threads.
- Prepare and install the new valve. The tank's threaded port is cleaned and inspected, threads are wrapped with Teflon tape, and a full-port brass ball valve is threaded in and tightened to a leak-free seal.
- Refill and test. The cold-water supply is reopened and the tank fills completely, with air purged through the hot taps. Every joint is checked dry, the new valve is opened and closed to confirm smooth operation, and the heater is returned to service.
The Valve and Materials We Install
The centerpiece of the job is the replacement valve itself. We install full-port brass ball valves rather than another plastic fitting. A ball valve opens to the full inside diameter of the pipe with a simple quarter turn of the handle, so water and sediment flush out quickly and the valve is still easy to operate years later. Brass resists the heat, pressure, and mineral exposure that crack plastic valves, and the ball design has far fewer internal parts to wear out.
For the threaded connection into the tank, we use Teflon tape rated for potable water, sometimes backed with pipe joint compound, to seal the tapered threads against the tank's operating pressure. The port threads on the tank are inspected before installation; if they are corroded or damaged, they are cleaned and, where possible, reconditioned so the new valve seats properly.
On the tools side, the job calls for pipe wrenches or large adjustable wrenches sized for the valve body, a garden hose long enough to reach a drain or the outdoors, buckets, and a wet-dry vacuum for the water that never quite makes it into the hose. We also carry nipples and bushings in case the new valve's thread size differs from the old one, which happens with some heater brands. The upgrade from plastic to brass is the single most durable improvement you can make to this fitting.
Safety Precautions During Drain Valve Service
A drain valve replacement looks simple, and it is, right up until someone skips the safety steps. The tank holds forty to fifty gallons of water that may be near scalding temperature, and it is under household water pressure until it is properly shut down. Our technicians always shut off the fuel supply first and verify it: a gas burner firing into an emptying tank, or an electric element energized in one, can damage the heater in minutes. Electric models are disconnected at the breaker and confirmed dead with a meter before a wrench touches the valve.
Pressure relief comes before any fitting is loosened. Opening a port on a pressurized tank can release a jet of hot water with enough force to cause serious burns, so the temperature-pressure relief valve is lifted and a hot tap opened to vent the system first. During draining, the discharge hose is secured so it cannot whip loose, and the hot water is directed to a floor drain or outdoors, never across a basement floor where it creates a scalding and slip hazard.
There is also a structural caution: an empty or partially drained tank is top-heavy and easier to tip, so the heater is kept stable and braced during the work. And the old valve, once removed, is never reinstalled. A valve that has already failed once has no place going back into service.
Local Factors: Drain Valves in Medford Homes
Medford's water and housing shape this job in practical ways. The MWRA supply, drawn from the Quabbin and Wachusett reservoirs, is naturally soft, which means sediment accumulates more slowly here than in hard-water regions. That is good news, but it is not a free pass: tanks that have never been flushed still build up scale and debris over a decade, especially in older homes where aging supply piping contributes its own material. Many of the clogged valves we replace in Medford belong to heaters that have gone ten-plus years without a single flush.
The install location matters too. Most Medford tank heaters sit in basements, and many of those basements have no floor drain near the heater. Draining forty or fifty gallons then becomes a logistics exercise: a long hose run to a laundry sink, a sump pit, or out a bulkhead door, sometimes with a pump when gravity will not cooperate. Triple-decker basements, where the heater may serve multiple units and sit in a cramped shared utility space, make this even more involved. We plan the drain route before the first valve is touched.
Winter adds urgency to the scheduling. A dripping drain valve in January is not just wasting hot water; in an unheated basement corner it keeps the surrounding area damp through the coldest months, and any water on a basement floor near a bulkhead can freeze into a hazard. Serving Medford, MA 02155, we treat a failed drain valve as a repair worth doing promptly, because the valve is the gateway to every other maintenance the heater will ever need.
Drain Valve Replacement FAQs
Drain valves fail quietly and get ignored loudly, usually at the worst moment. These are the questions Medford homeowners ask when the drip starts or the handle snaps off, answered from what we see on local service calls.