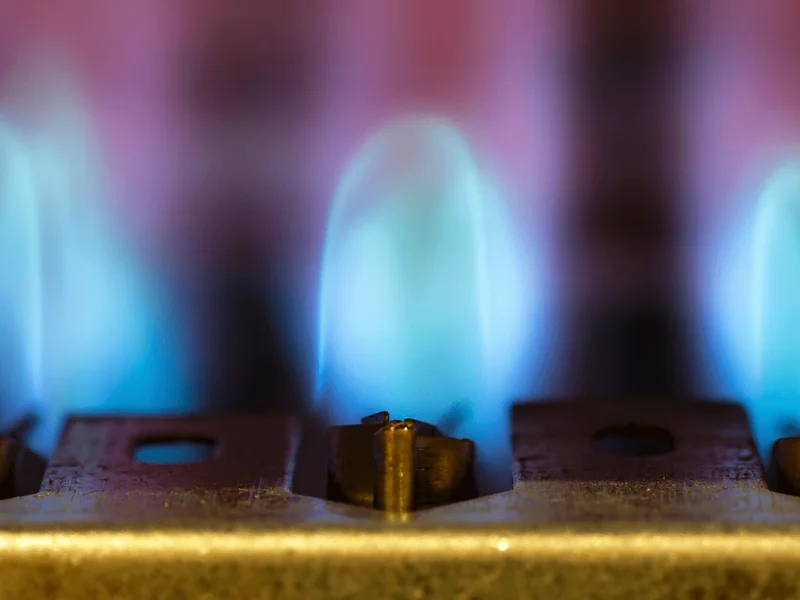
Stoneham's 02180 is 1950s–70s suburbia — ranches, split-levels, and colonials around the town center's older colonials and capes — with gas water heaters in basements that are notably drier than the river towns'. The town sits on higher ground with good drainage, and that shows in valve service: less corrosion, more honest age-wear — thermocouples and controls simply reaching the end of their service life in well-kept homes.
Our technicians replace gas control valves on tank water heaters across Stoneham, MA 02180, from Stoneham Square colonials to the ranch blocks near the Middlesex Fells. Stoneham-specific notes: original 1950s–60s copper at pinhole-leak age (pipe leaks near the heater get misdiagnosed), split-level utility rooms with exterior-wall freeze exposure, and ranch crawl spaces with unconditioned piping. Below is how we diagnose in Stoneham's housing, what replacement involves, and the local details.
Honest Age-Wear in Dry Basements
Stoneham's well-drained basements change the valve failure profile: less corrosion, more straightforward wear. Thermocouples thin with age until the pilot magnet no longer holds; internal valve thermostats wear until burners fire erratically; FVIR screens accumulate a decade of ordinary basement dust. The pilot that lights and dies on release is the classic presentation, and in Stoneham it is usually exactly what it looks like — a component at the end of its life, not an environmental casualty.
That simplicity is a diagnostic advantage: with corrosion largely out of the picture, the test sequence — thermocouple output, intake screen, pilot assembly, gas supply, valve — resolves cleanly. We still run it in full order, because even in dry basements a clogged screen mimics valve failure often enough to check first. But the Stoneham valve call is, more than most, about the part rather than the setting.
Pinhole Copper Around the Heater
Stoneham's original 1950s–60s copper is at pinhole-leak age, and the hot-water lines near the heater — thermally stressed for sixty years — are where the pinholes appear first. A pinhole mist lands on the tank jacket, runs down, pools at the base: water near the heater that is not from the heater. For valve calls the symptoms do not overlap (pinholes do not affect pilots), but the failures coincide — aging valve, aging copper, same decade — so we inspect the nearby piping during every valve service.
The green crust and white mineral staining on old copper are the telltales, and we look for them as a matter of routine. Finding the pinhole during the valve job saves the callback; the honest report covers the whole system, not just the part we came for. In Stoneham, the valve service doubles as a copper health check — the town's piping is at the age where it earns one.
Split-Levels and Exterior-Wall Exposure
Stoneham's split-levels tuck heaters into half-buried lower levels and utility rooms with exterior-wall exposure — spaces that run cold in January and stress the installation. A valve misbehaving only in deep winter gets the environment checked: cold drafts on the pilot assembly, freeze-restricted piping mimicking control problems, condensation from the temperature differential. The seasonal pattern is the diagnostic clue.
Combustion air gets verified in these tucked installs too — a utility room finished around the heater can starve the burner, causing the sooting and erratic behavior that looks like valve failure. If the room needs louvered doors or the piping needs insulation, we recommend it alongside the valve work. The split-level heater lives in a more demanding microclimate than the basement one, and the service accounts for it.
Ranch Crawl Spaces and Service Access
The ranch crawl spaces put some Stoneham heaters in unconditioned territory — not the valve itself, which sits on the tank wherever the tank sits, but the piping and the service environment. Where the heater is crawl-space-adjacent, we check the exposed runs for freeze vulnerability and insulation state as part of the visit, because the piping's winter behavior affects the diagnostic picture.
Access for the valve job itself is usually reasonable — the part travels in a toolbox, and Stoneham's basements are generally accessible. What we plan for is the complete visit: diagnosis, gas fitting, line testing, burner cycling, plus the piping inspection and the winterization advice where applicable. The Stoneham valve call is thorough rather than dramatic, which suits the town.
How a Gas Control Valve Works — and What Replacement Involves
The gas control valve is the brass-bodied unit mounted low on the front of a gas water heater, the single point where the gas supply line, the pilot tube, and the thermocouple all converge. Inside that housing, a thermostat senses tank temperature through a probe seated in the tank wall and opens or closes the main burner valve to hold the setpoint. A separate safety circuit holds the pilot valve open only while the thermocouple — or thermopile on some models — generates its small millivolt signal from the pilot flame. If the pilot goes out, the signal dies and the valve snaps the gas supply shut. That fail-safe is what makes these valves trustworthy, and it is also why a dying thermocouple so often masquerades as a bad valve: the symptom looks identical until it is tested.
Most heaters built in the last two decades use FVIR (flammable vapor ignition resistant) designs, which seal the combustion chamber and add a thermal cutoff device into the assembly. On those units, a tripped thermal cutoff or a clogged flame-arrestor intake screen can mimic valve failure, so diagnosis has to rule those out before any parts are ordered. Replacement itself is precision gas-fitting work. We shut off the gas at the supply cock, close the cold-water inlet, and drain the tank below the valve port. Then we disconnect the gas supply line, the pilot tube, the thermocouple, and the igniter wire, and unthread the old valve from the tank spud. The new valve threads in with approved pipe sealant, every connection is remade, and then comes the step that matters most: the gas line is tested with leak-detection solution at full line pressure, the pilot is lit and observed for a steady envelope around the thermocouple tip, and the burner is run through complete heat cycles while we verify flame character, draft at the vent, and correct shutoff response at the thermostat. This is not a homeowner task — gas connections demand trained hands and proper testing.
Gas Safety: What to Do (and Not Do) Around a Suspect Valve
If you smell gas — the sharp rotten-egg odor of mercaptan — anywhere near your water heater, do not touch the valve, do not light anything, and do not flip electrical switches. Leave the house and call your gas utility's emergency line from outside, then call us. For a valve that simply misbehaves — a pilot that will not stay lit, a burner that short-cycles — turn the control knob to the off or pilot position and keep the area clear until a technician arrives.
Never attempt to disassemble a gas control valve. The internal seals, springs, and regulators are factory-set, and there are no field-serviceable parts inside the housing. Combustion air matters as well: a gas heater crowded into a small closet or a basement corner packed with storage can starve for air, causing sooting and carbon monoxide risk that looks exactly like a valve problem. After every valve replacement, we confirm the vent is connected and drafting properly, because a disconnected or back-drafting flue can spill combustion gases into the home. One more hard rule: any gas control valve that has been submerged in floodwater must be replaced, never dried out and reused. Water destroys the internal safety mechanisms even when the valve appears to work afterward, and we replace submerged valves as a matter of policy.