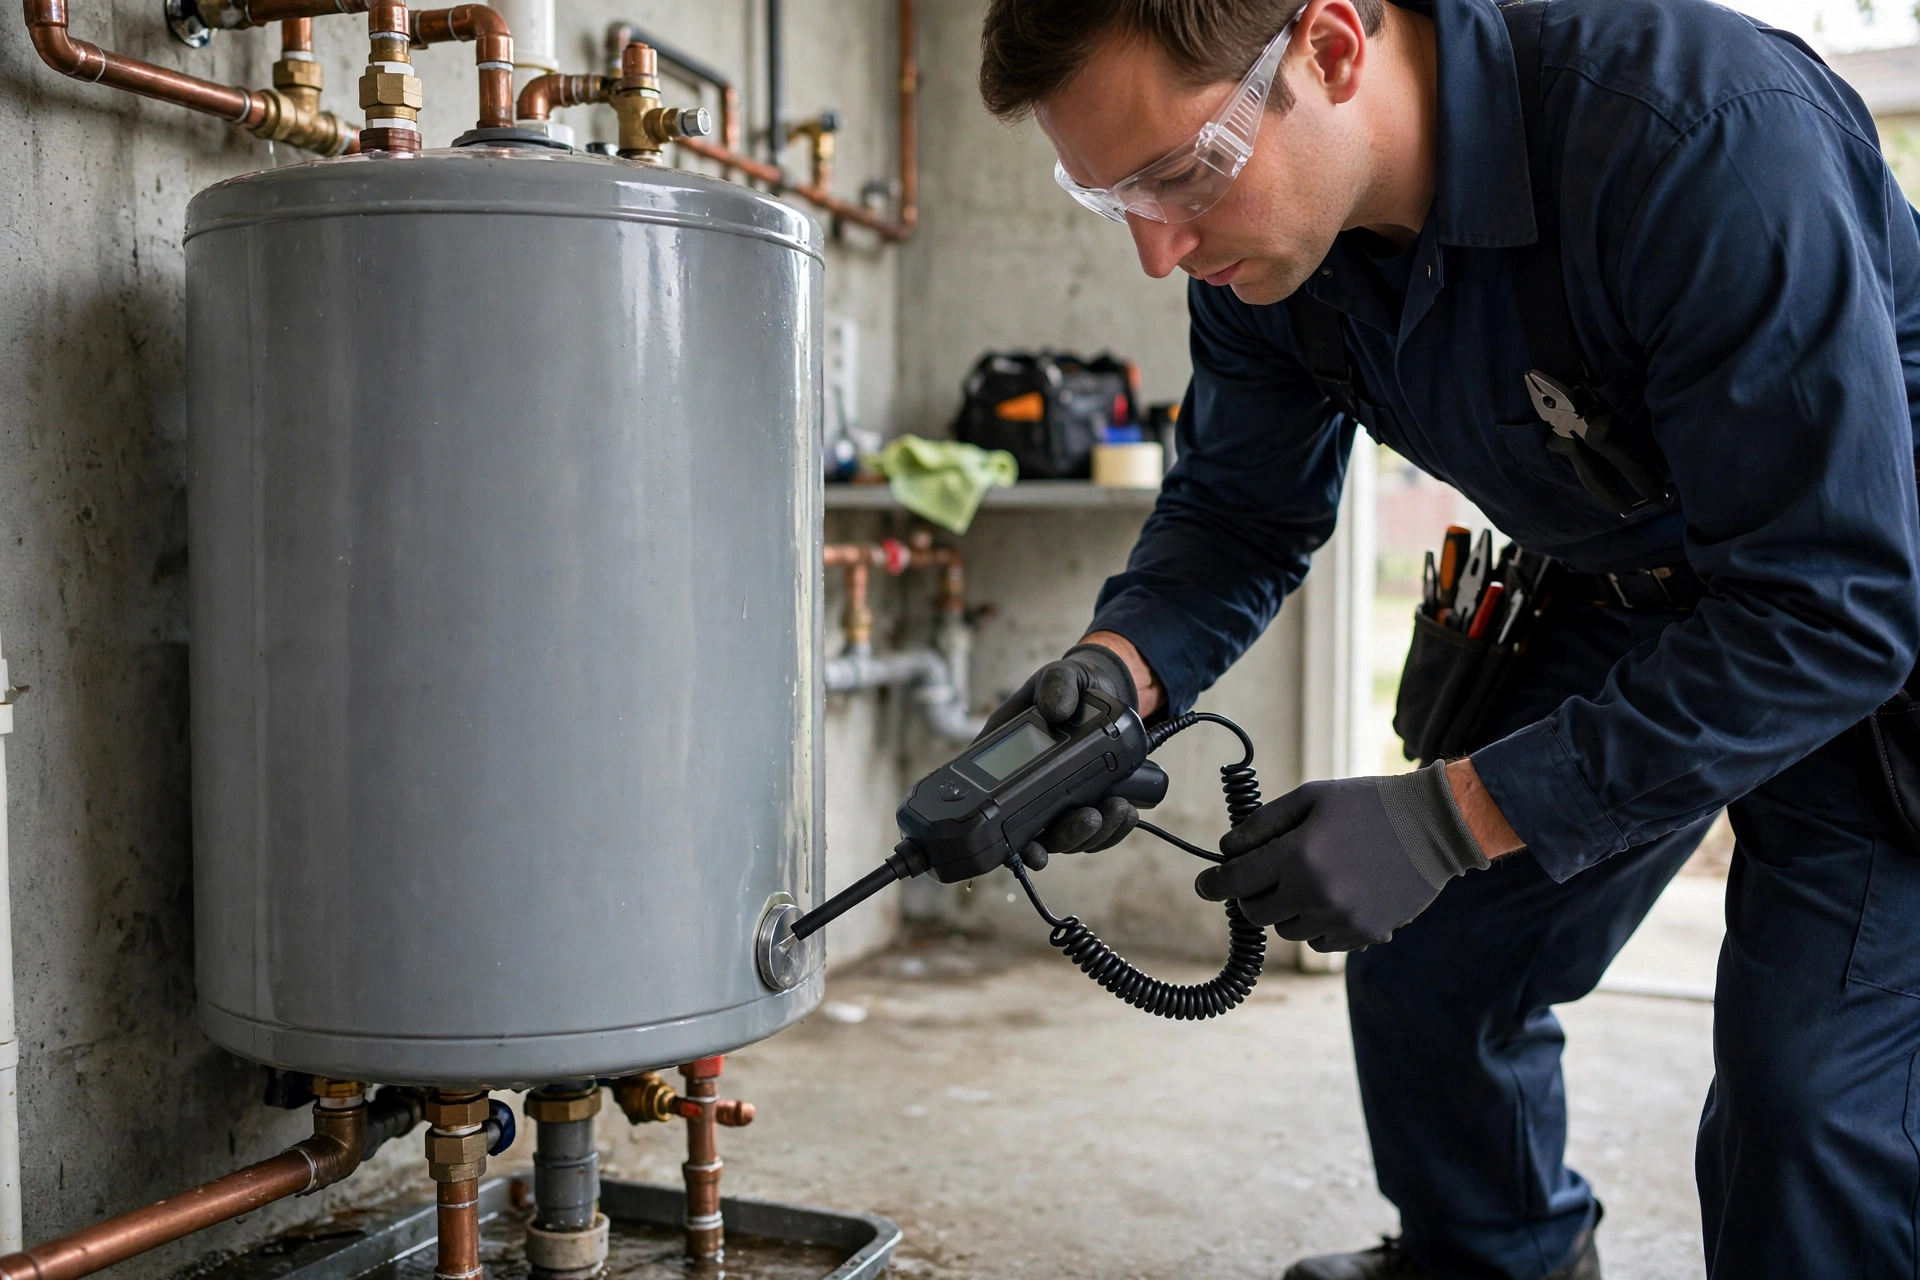
The obvious leaks are easy. It's the slow ones — a weep behind the unit, a pinhole misting inside the jacket, a T&P valve dribbling into a drain — that do the real damage over months. Professional leak detection is about finding water you can't see yet. Here's the toolkit, from DIY to pro.
Moisture meters read dampness inside drywall and subfloor without opening anything — essential when a leak has been traveling inside walls. Thermal imaging spots the temperature signature of wet areas and hot-water leaks behind surfaces. Pressure testing isolates whether the system holds pressure, distinguishing heater leaks from supply-side issues. And borescopes let us see inside wall cavities through a tiny hole.
Water obeys gravity and follows the path of least resistance, which means the puddle is often feet from the leak. Pros work upward and outward: dry everything, then watch where water reappears first. Dye tablets in the tank can help — colored water at a fitting proves the path. This systematic approach is why a "leak detection" visit is different from a guess-and-replace visit.
Recurring dampness with no visible source, water damage appearing away from the heater, a heater in a finished-space closet where opening walls is costly, or any situation where someone already "fixed" it once and it came back. Finding it right the second time is cheaper than fixing the wrong thing twice.
Start with a thorough visual inspection using a bright flashlight. Check all pipe connections, valves, and fittings for moisture, corrosion, or mineral deposits. Look at the floor around the base for water stains, rust marks, or warped flooring. Inspect the walls behind and beside the unit for discoloration or mold.
Use paper towels or dry tissue to test suspicious areas — press against fittings and along pipe joints. Even a tiny leak will dampen the tissue. For hard-to-reach areas, a small inspection mirror helps you see behind the unit without moving it.
Photograph everything you find, even if it seems minor. Dated photos create a record that helps you track whether a condition is worsening and provides documentation for insurance or professional consultations.
Pin-type moisture meters ($30-50) measure moisture content in wood, drywall, and other building materials. Probe the wall behind the water heater, the floor around the base, and any stained areas. Readings above 15-20% indicate abnormal moisture that warrants investigation.
Pinless (non-invasive) meters scan larger areas without making holes. They're ideal for checking walls and floors for hidden moisture. While less precise than pin-type meters, they're faster for surveying broad areas and won't damage finished surfaces.
Take baseline readings in unaffected areas for comparison. A reading that's significantly higher near the water heater than elsewhere confirms a moisture problem, even if you can't see active water.
WiFi-connected leak detectors ($30-60 each) placed near the water heater alert your phone at the first sign of moisture. Some models also monitor temperature and humidity, providing early warning of conditions that precede leaks. For comprehensive protection, place sensors at the water heater, washing machine, under sinks, and near the main water line.
Automatic shutoff systems pair leak detectors with a motorized valve on the main water supply. When a sensor detects water, the system shuts off water to the entire house automatically — even if you're not home. These systems ($500-1000 installed) can prevent tens of thousands in water damage and may qualify for insurance discounts.
If your DIY detection confirms a leak but you can't identify the source, professional leak detection is warranted. Plumbers use acoustic equipment, thermal imaging, and tracer gas to pinpoint hidden leaks without destructive exploration. The $200-400 cost is far less than the damage from an undiagnosed leak or the cost of opening walls unnecessarily.
Any water heater problem involving leaks, unusual sounds, or inconsistent hot water warrants prompt attention. Small issues become major failures if ignored. When in doubt, have a professional assess the situation.
Basic maintenance like flushing and visual inspections are DIY-friendly. Repairs involving gas, 240-volt electricity, or the tank itself should be left to licensed professionals for safety and code compliance.
Annual professional maintenance, regular DIY inspections, prompt attention to minor issues, and following manufacturer recommendations are the best prevention. Keep records of all maintenance performed.
